Posted on June 4, 2026

F.E.A.R. 3 PS3

Categories: Adventure, Shooter  |  PS3  |  0 comments
F.E.A.R. 3 PS3
Title F.E.A.R. 3 PS3
Themes Action, Horror, Science fiction
Developer Day 1 Studios
Publisher WB Games
Release Date 21 June 2011
Languages English, English (UK), French, German, Italian, Japanese, Korean, Polish, Portuguese (Portugal), Russian, Spanish (Spain)
Game Modes Co-operative, Multiplayer, Single player
Player Perspective First person
Series F.E.A.R.
Score ★ 7.6

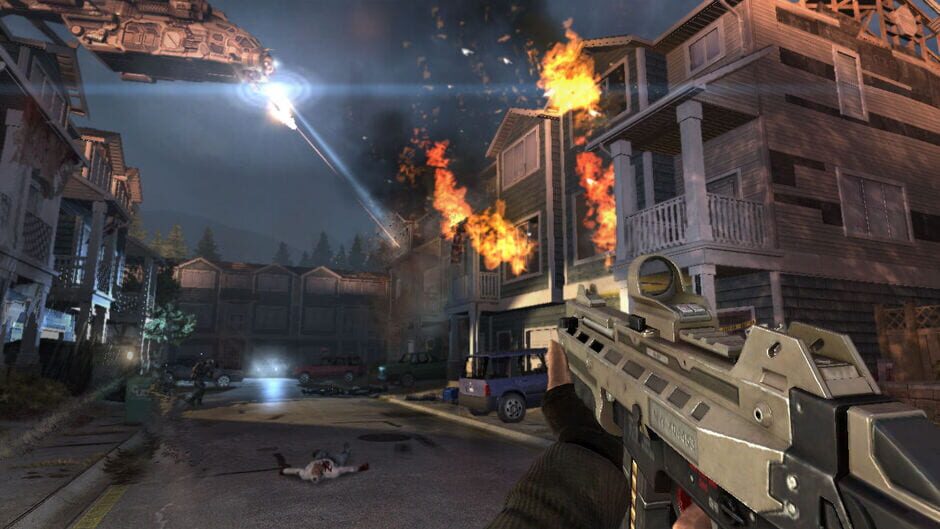
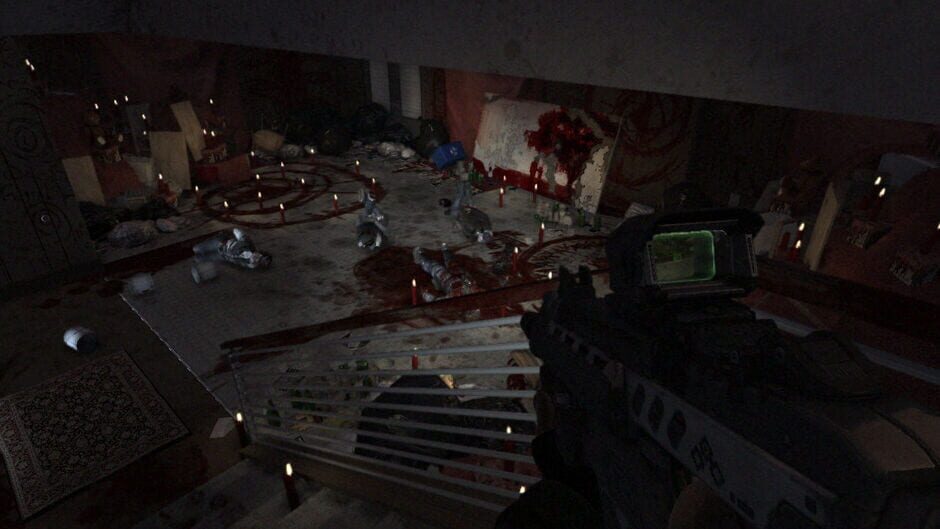
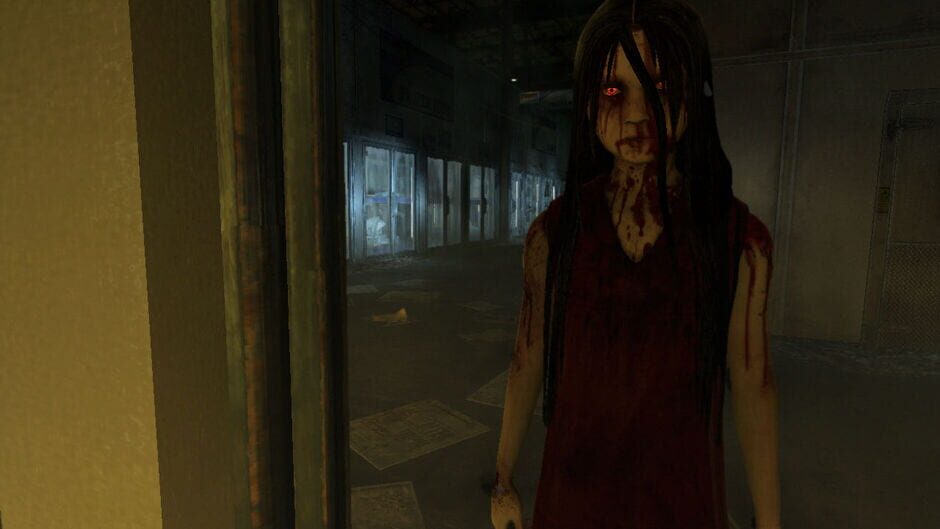
F.E.A.R. 3 is a sequel to F.E.A.R. 2: Project Origin and the third installment of the series. New to this game is the ability to play the campaign in either single-player mode or co-op mode. As well as being playable online, co-op is also available offline via split screen. In single-player mode, the player can initially only play as Point Man. However, upon the completion of each level, the player unlocks the ability to play through that level as Paxton Fettel. Level layout, cutscenes, and dialogue are identical irrespective of which character the player is using.

Looking for free PS3, PS4, PS5, PC, Xbox 360, or even PS6 games? Download them from Ghogames! Safe, virus-free, and easy to browse. Download F.E.A.R. 3 PS3 Ovagames, Download F.E.A.R. 3 PS3 Googgames, Download F.E.A.R. 3 PS3 Elamigos, Download F.E.A.R. 3 PS3 SuperPSX, Download F.E.A.R. 3 PS3 Dlpsgame, Download F.E.A.R. 3 PS3 Kuyhaa, Download F.E.A.R. 3 PS3 Dodi Repack, Download F.E.A.R. 3 PS3 Ghogames, Download F.E.A.R. 3 PS3 For PC, Download F.E.A.R. 3 PS3 For PS4 PKG, Download F.E.A.R. 3 PS3 For PS5 Jailbreak

PS2 INSTALLATION GUIDE

–CLICK HERE–

PS3 INSTALLATION GUIDE

–CLICK HERE–

PS4 INSTALLATION GUIDE

–CLICK HERE–

PS5 INSTALLATION GUIDE

–CLICK HERE–

XBOX 360 RGH/JTAG INSTALLATION GUIDE

–CLICK HERE–

PC INSTALLATION GUIDE

HOW TO INSTALL :

  1. Extract files
  2. Burn or mount the .iso
  3. Run setup.exe and install
  4. Enjoy & Play

Supported Languages: English, French, Italian, German, Spanish, Spanish (Mexico), Polish, Russian, Portuguese-Brazil, Arabic, Japanese, Korean, Chinese Simplified, Chinese Traditional

HOW TO INSTALL HYPERVISOR GAME :

  1. Extract files
  2. Burn or mount the .iso
  3. Install the game
  4. Read _Info.txt and DenuvOwO.nfo first — CPU virtualization must be enabled in the BIOS (some motherboards are already enabled by default)
  5. Run b1BinariesWin64VBS.cmd from the game folder, press 1, restart the computer, then during the next boot press F7 when a new window appears (driver signature OFF)
  6. Run the game from the desktop icon

Once successfully running, other games using Hypervisor can be played directly from the desktop icon — as long as the PC is not restarted/shut down. If the PC is restarted, repeat the steps: VBS.cmd → 1 → reboot → F7 → desktop icon.

Comment

Leave a Reply

Your email address will not be published. Required fields are marked *

ADVERTISEMENT
Your Banner
300px × 600px
$5 / 1 Month
ADVERTISEMENT
Your Banner
300px × 600px
$5 / 1 Month